Client: Orthotech Labs
Jamestown, NC
Project Overview:
Orthotech Labs, a full-service orthodontic appliance laboratory based in Jamestown, NC, approached me to develop a comprehensive marketing campaign to coincide with their attendance at the Southern Association of Orthodontics Annual Conference. The project, titled “Behind the Smile,” aimed to go far beyond traditional product marketing, leveraging innovative technologies and a multi-channel approach to engage orthodontists and showcase the quality and precision of Orthotech’s handcrafted appliances. The campaign encompassed a website revamp, interactive 360° product photography, augmented reality (AR) integration, video production, and the creation of print collateral (magazine ad and flyers).
Challenge:
Orthotech Labs faced several key challenges:
- Outdated Visuals: Existing product photography was low-quality and failed to effectively communicate the intricate details and craftsmanship of their orthodontic appliances.
- Limited Engagement: Traditional marketing materials (static images, brochures) lacked the ability to truly showcase the products in a dynamic and engaging way.
- Competitive Market: The orthodontic lab industry is competitive, requiring Orthotech to differentiate itself and stand out from the crowd.
- Inefficient Catalog: The existing product catalog was not organized or managed efficiently.
- Need a new image: New color palette.
The overarching challenge was to create a marketing campaign that would not only capture the attention of busy orthodontists but also build trust and confidence in the quality and precision of Orthotech’s products.
Solution:
The “Behind the Smile” campaign was built on a foundation of innovative technology and a multi-channel approach, designed to engage orthodontists at multiple touchpoints and provide a truly immersive product experience.
360° Product Photography: A New Perspective
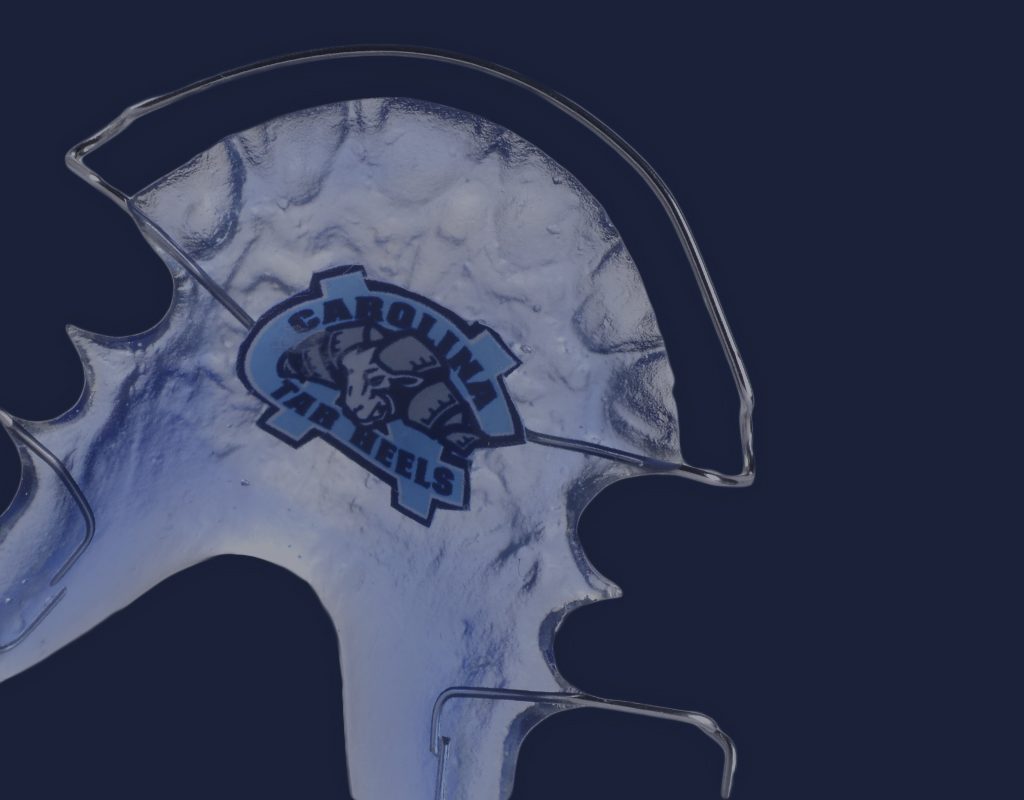
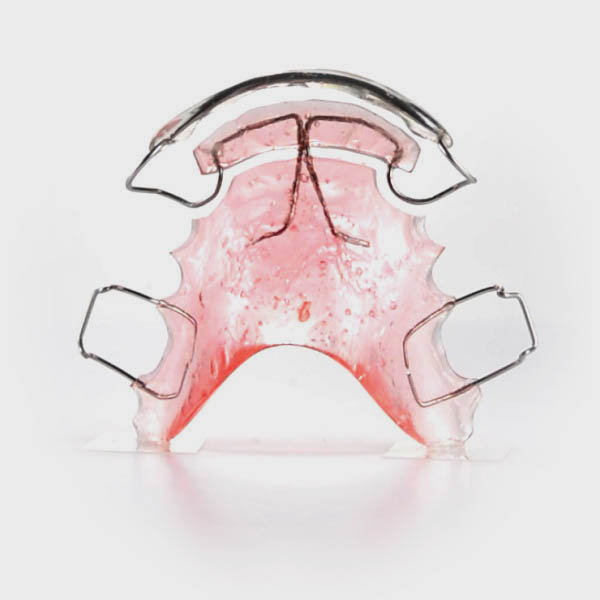
The centerpiece of the campaign was the creation of interactive 360° rotatable images of Orthotech’s orthodontic retainers. This was a novel approach in the industry, allowing orthodontists to virtually “handle” and examine the appliances from every angle, providing a level of detail and insight that was impossible with traditional photography.
To achieve this, I took a hands-on, DIY approach:
- Custom-Built Setup: A custom 360° photography rig was assembled, utilizing a heavy-duty motorized turntable for smooth and consistent rotation.
- Lighting and Camera: Experimentation with multiple light sources and reflectors was crucial to minimize shadows and highlight the intricate details of the retainers. A DSLR camera with a macro lens was used to capture high-resolution images. Camera Settings were 1280 and constant light.
- Invisible Mounting: A unique challenge was mounting the retainers for 360° photography without any visible supports. The solution involved crafting small, clear “feet” from strips of overlay projector plastic, which were carefully attached to each retainer.
The captured images were then processed and stitched together to create seamless, interactive 360° views, which were integrated into the Orthotech website using a CodeCanyon plugin.
Augmented Reality (AR): Bringing the Retainers to Life
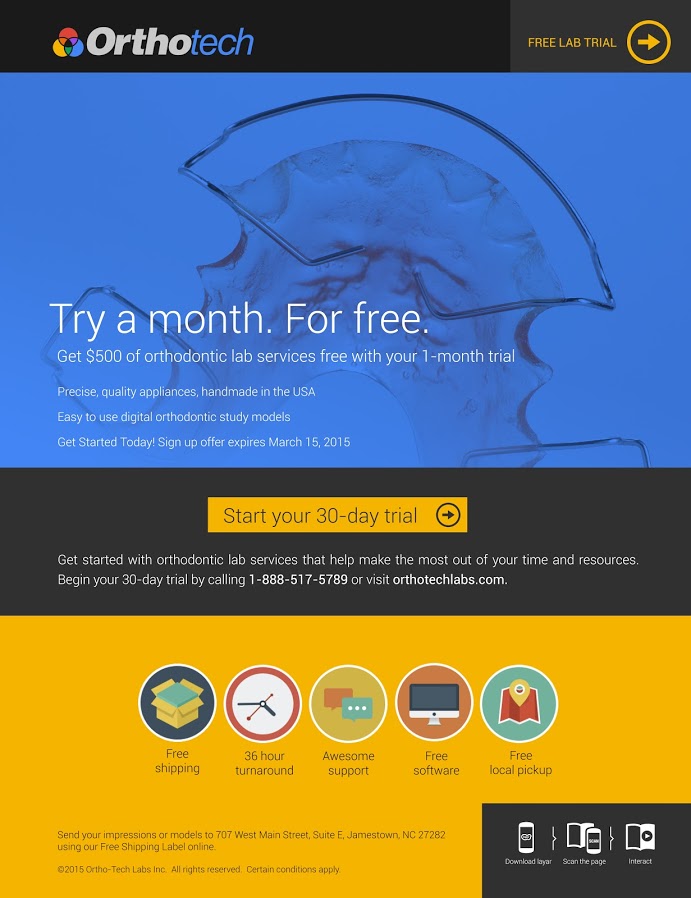
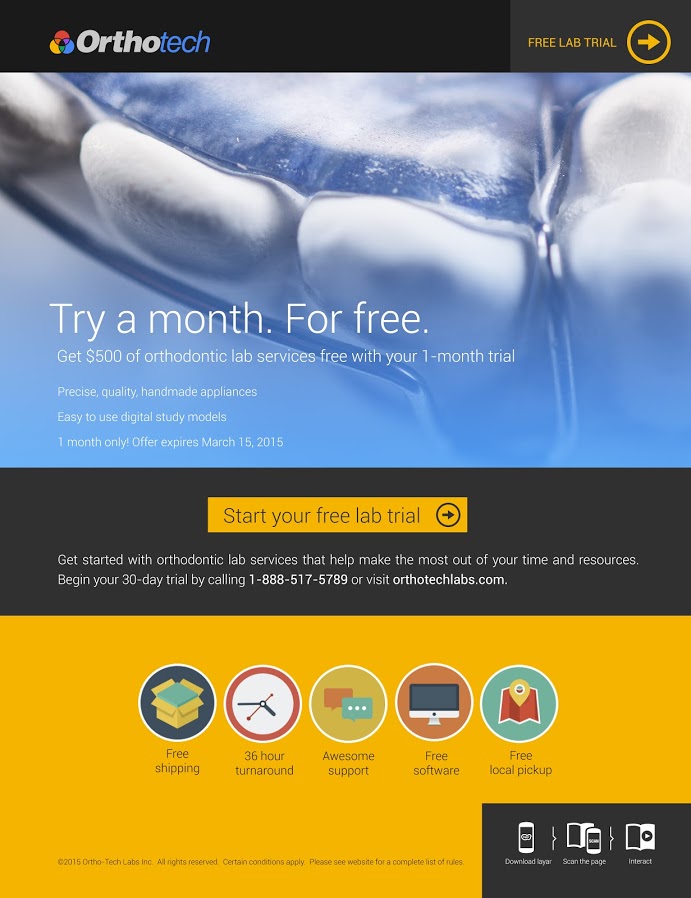
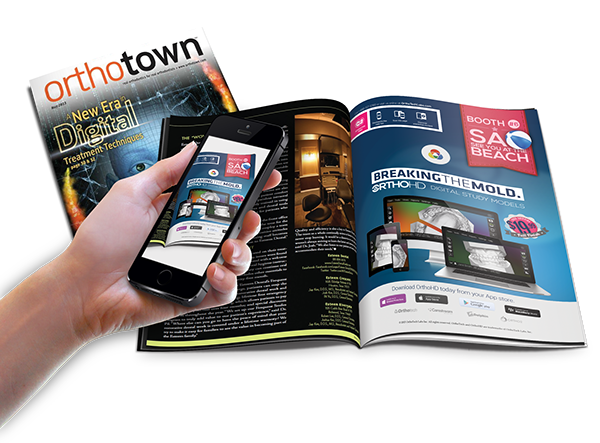
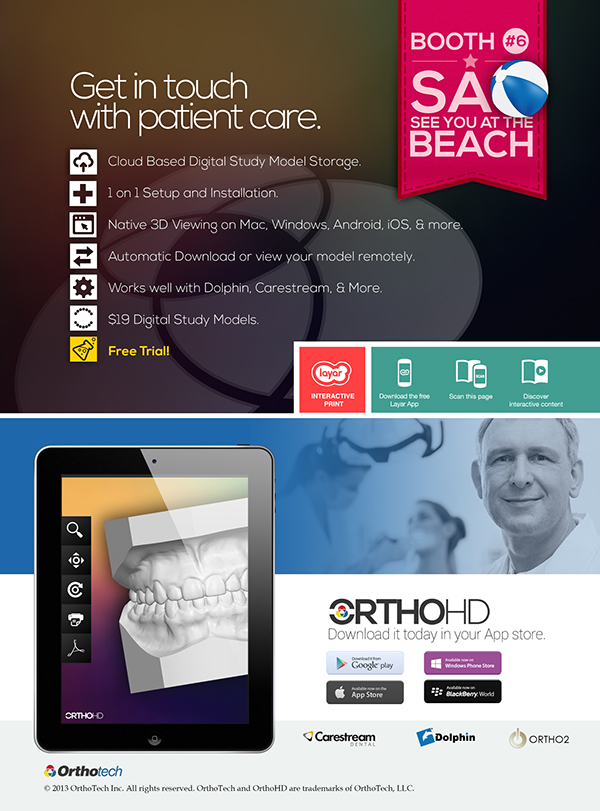
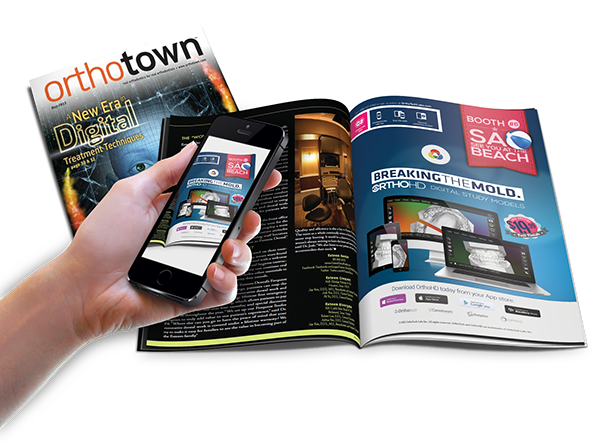
To further enhance engagement and provide a truly unique experience, the print materials (magazine ad and flyers) were integrated with augmented reality (AR) technology using the Layar platform. By scanning the printed materials with their smartphones or tablets, orthodontists could instantly view a 360° rotatable retainer, seemingly floating in their real-world environment. This added an element of “wow” and interactivity to the traditional print medium.


Video Production: Telling the Story
A promotional video, also titled “Behind the Smile,” was created to communicate Orthotech’s brand message and showcase the quality of their work in a dynamic and engaging format. The video incorporated footage of the 360° retainer spins, effectively repurposing the assets created for the website and print materials.
Website Revamp: A Modern Online Presence
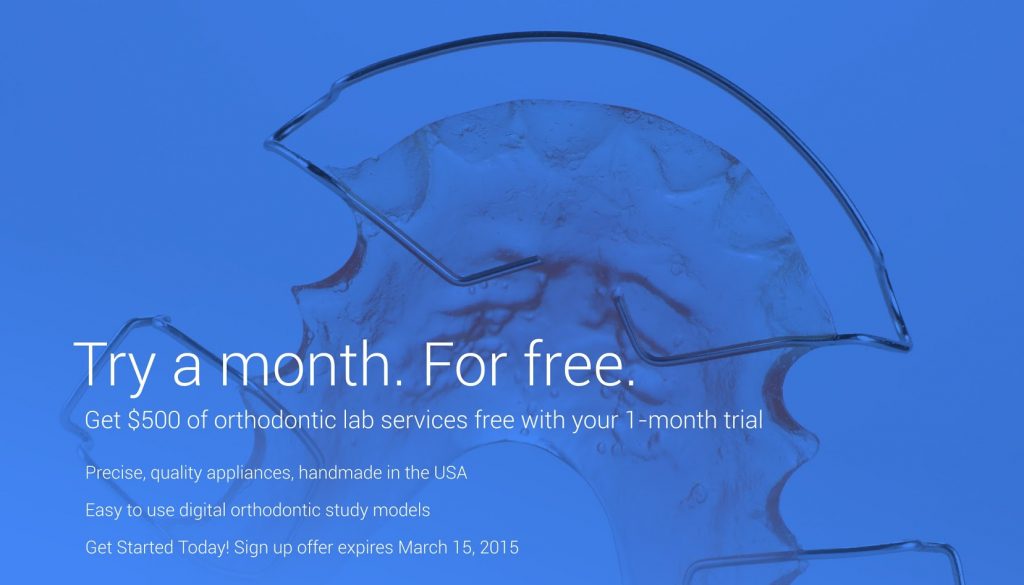
The homepage and color palette of the website was remade.
Results and Reflection:
The “Behind the Smile” campaign successfully transformed Orthotech Labs’ product presentation and marketing efforts, providing a level of detail, interactivity, and engagement that was previously unattainable. The 360° images, AR integration, and video production, combined with a refreshed website and print materials, created a cohesive and impactful multi-channel campaign. This allowed orthodontists to thoroughly examine the appliances, building trust and confidence in the quality of Orthotech’s work.
The project also provided valuable hands-on experience and highlighted the importance of meticulous planning, attention to detail, and a willingness to experiment with new technologies. While future iterations could benefit from enhanced lighting, optimized mounting solutions, and potentially 3D capture technology, the “Behind the Smile” campaign demonstrated a creative and resourceful approach to solving a real-world marketing challenge and elevating a brand’s image.

One Comment:
zoritoler imol
March 27, 2025 / at 10:04 am
I wanted to draft you a little observation to help say thanks once again over the amazing knowledge you have discussed on this page. It has been so strangely open-handed with people like you in giving unhampered all a lot of folks would have offered as an ebook in making some bucks on their own, mostly seeing that you could possibly have done it if you ever wanted. These creative ideas additionally worked like the easy way to be aware that other people have the identical dreams like mine to figure out more in regard to this issue. I am sure there are several more pleasant periods up front for individuals that look over your website.